

(Gluten Free, Raw, Vegan, Refined Sugar Free)
This is so easy, and after sharing it with friends this weekend I am happy to share the recipe too.
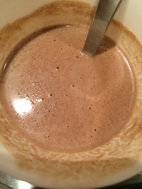
Three ingredients and a blender - that is all you need. Any blender.
Amounts may vary slightly, play around to get the texture and taste you like.
Ingredients
Directions
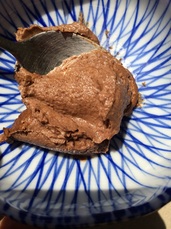
Option 1 (see below right)
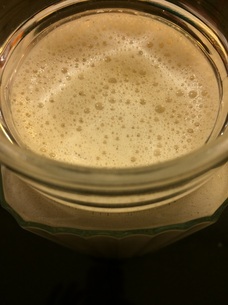
Serve it bowls right away - it is a light fluffy, truly decadent chocolate mousse
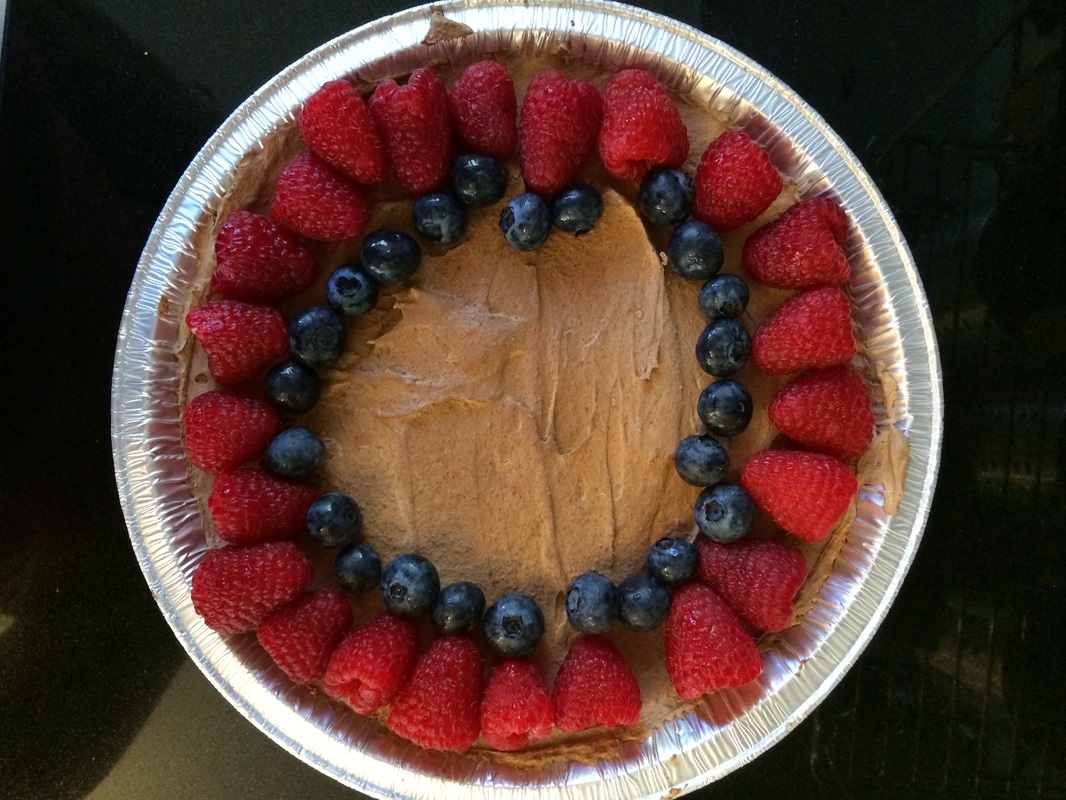
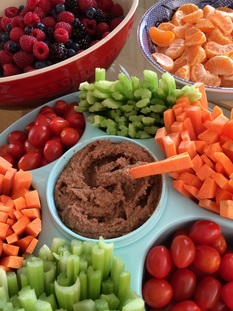
Option 2 (see below left)
Pour into a pie tray and refrigerate or freeze
A few hours later, take out, top with berries
Let it warm on the counter until it is soft enough to serve
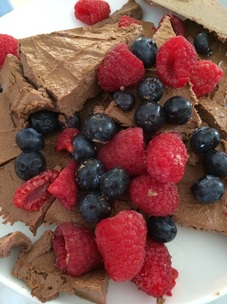
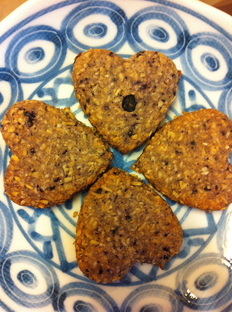
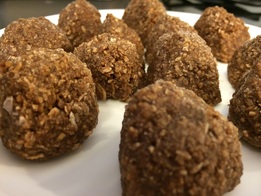
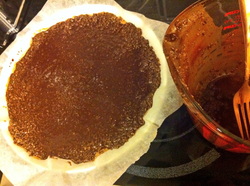
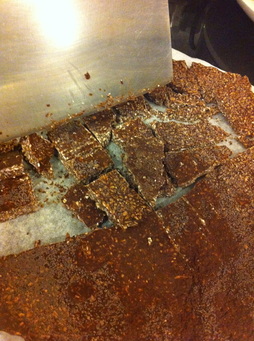
Note, when I served this today, it all fell apart (see photo above) - but nobody complained, and not a crumb was left!
Option 3
Pour it into ice pop molds and make 'fudgicles'
Option 4
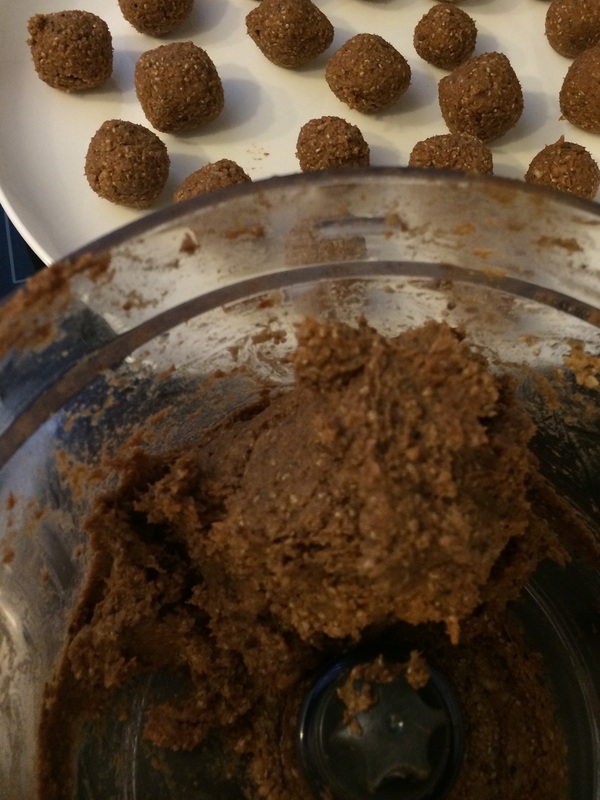
Use this to make Our Birthday Cake - this will make it a bit richer than the recipe on that page
Option 5
Use this to make frosting for any cake
** The amount of coconut oil depends on the size of your bananas - if your blender is struggling a bit, add some more. I used about 1/2 cup plus 1 or 2 Tablespoons of coconut butter today.
You can also play around with adding other things - an avocado, raspberries, dark cherries, etc... once you get the base down, it is very flexible!
Actually, I made this yesterday, and we had four small bowls of raw vegan chocolate mousse. Then I poured the extra into the pie tray, and froze overnight. This morning I took it out and added the berries around 11am, and we ate it around 3pm. It was gone by about 3:30pm!
This is so easy, and after sharing it with friends this weekend I am happy to share the recipe too.
Three ingredients and a blender - that is all you need. Any blender.
Amounts may vary slightly, play around to get the texture and taste you like.
Ingredients
- 4 very ripe bananas
- 1/2 - 3/4 cup of coconut oil (can use some coconut butter too)**
- 4 Tablespoons of really good raw cacao powder, like this one (seriously, this is the secret to the recipe!!)
Directions
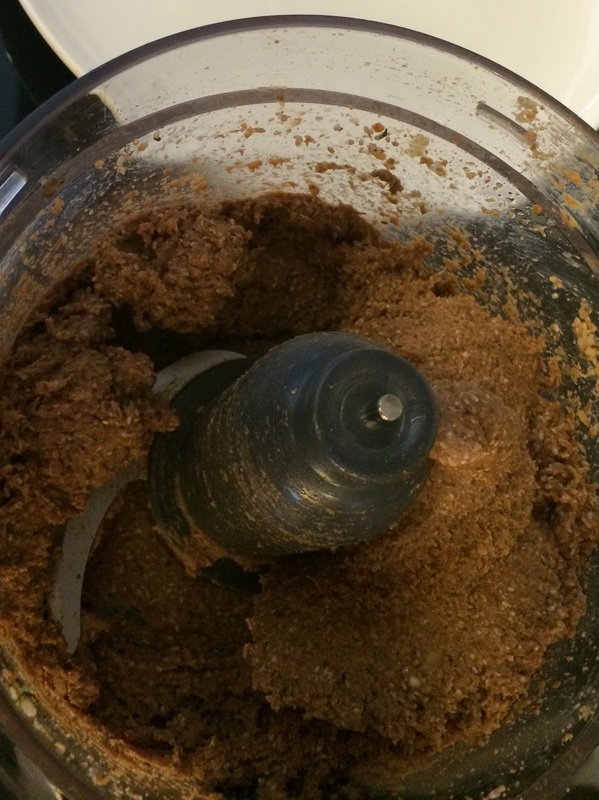
- Put bananas, coconut oil and raw cacao powder in the blender
- Blend until very smooth
- You might need to stop the blender and wipe down the side with a spatula once or twice
Option 1 (see below right)
Serve it bowls right away - it is a light fluffy, truly decadent chocolate mousse
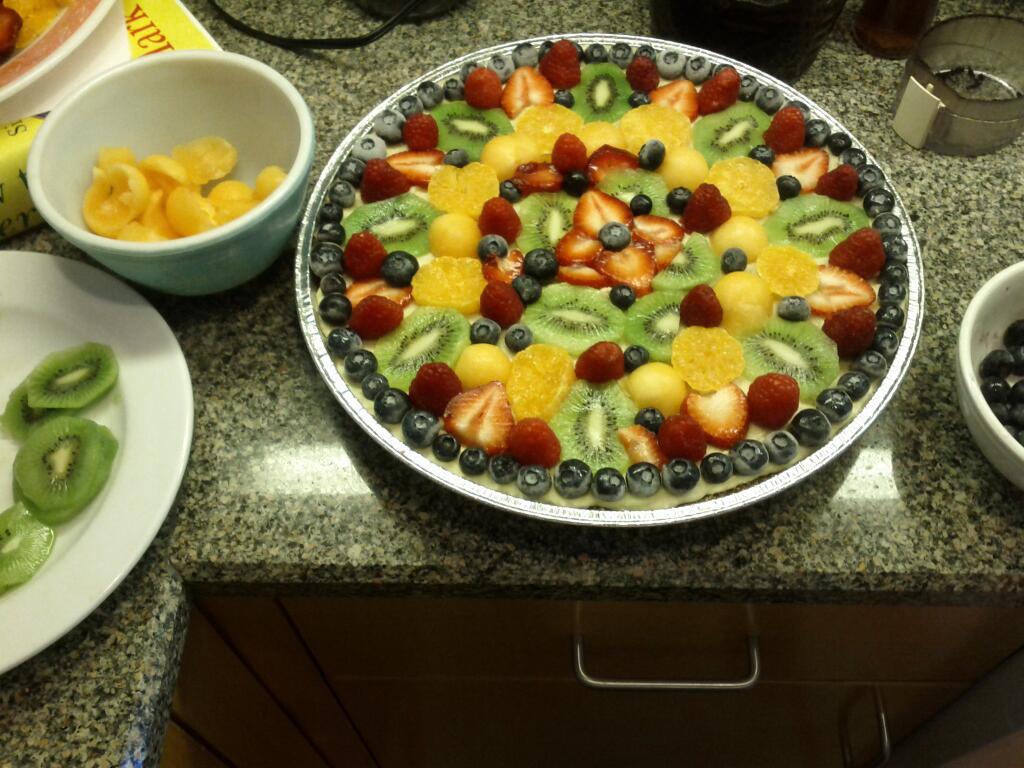
Option 2 (see below left)
Pour into a pie tray and refrigerate or freeze
A few hours later, take out, top with berries
Let it warm on the counter until it is soft enough to serve
Note, when I served this today, it all fell apart (see photo above) - but nobody complained, and not a crumb was left!
Option 3
Pour it into ice pop molds and make 'fudgicles'
Option 4
Use this to make Our Birthday Cake - this will make it a bit richer than the recipe on that page
Option 5
Use this to make frosting for any cake
** The amount of coconut oil depends on the size of your bananas - if your blender is struggling a bit, add some more. I used about 1/2 cup plus 1 or 2 Tablespoons of coconut butter today.
You can also play around with adding other things - an avocado, raspberries, dark cherries, etc... once you get the base down, it is very flexible!
Actually, I made this yesterday, and we had four small bowls of raw vegan chocolate mousse. Then I poured the extra into the pie tray, and froze overnight. This morning I took it out and added the berries around 11am, and we ate it around 3pm. It was gone by about 3:30pm!
 |  |


 RSS Feed