
NOTE: I made this post on my iPhone and cannot format it properly. Sorry for how horrible it must look, but so many people have asked me for this recipe, I thought this was the easiest way to share.
I am a fermenter, not a baker. But for fun I have been teaching myself how to bake sourdough the past few years.
Since the COVID-19 lockdown, I have had to simplify my recipe to the basics:
- taking out any steps that waste flour
- using no specialty baking items
Below is the most simple process with proven results!

Sourdough Loaf
STEP ONE - Prepare the Ingredients
Bowl One
Starter 100g (my starter is 50% rye 50% water)
Water 375g
Mixed seeds 50g (hemp, sesame, teff, quinoa, etc...)
Mix everything in the wet bowl with a whisk.
​
Small Bowl
Salt 10g
Bowl Two (470g flour - use whatever is available)
Rye flour 10g
Malthouse Flour 90g
Strong white 370g
Let this sit while you clean up.
Then add the salt to the wet bowl and whisk.
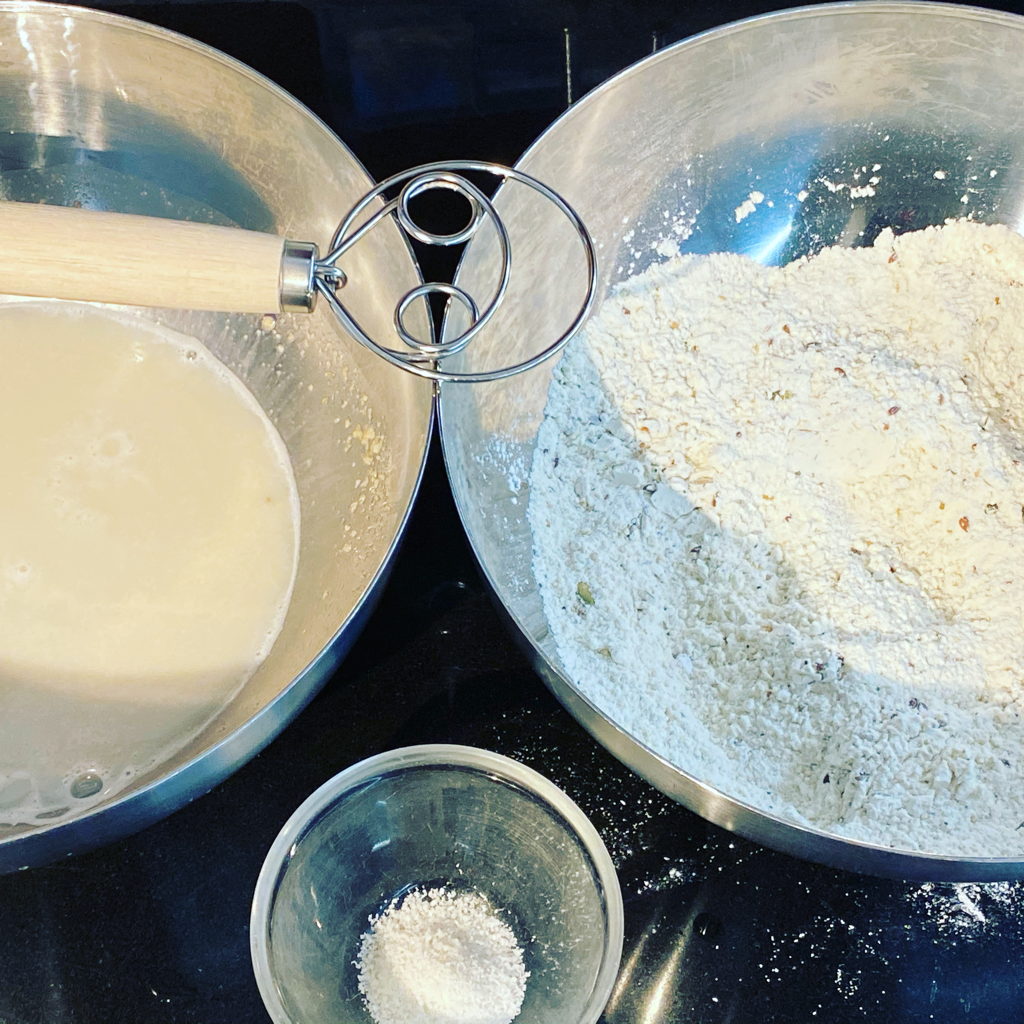
Prepare the ingredients
STEP TWO - Mix
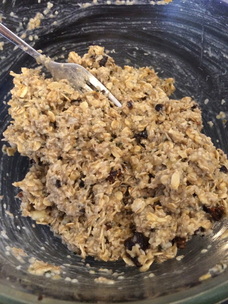
​Mix the contents of the wet and dry bowls together with a spatula and/or hand. Stop when it is a bit tacky and can form into a sort of ball.
​Mix the contents of the wet and dry bowls together with a spatula and/or hand. Stop when it is a bit tacky and can form into a sort of ball.
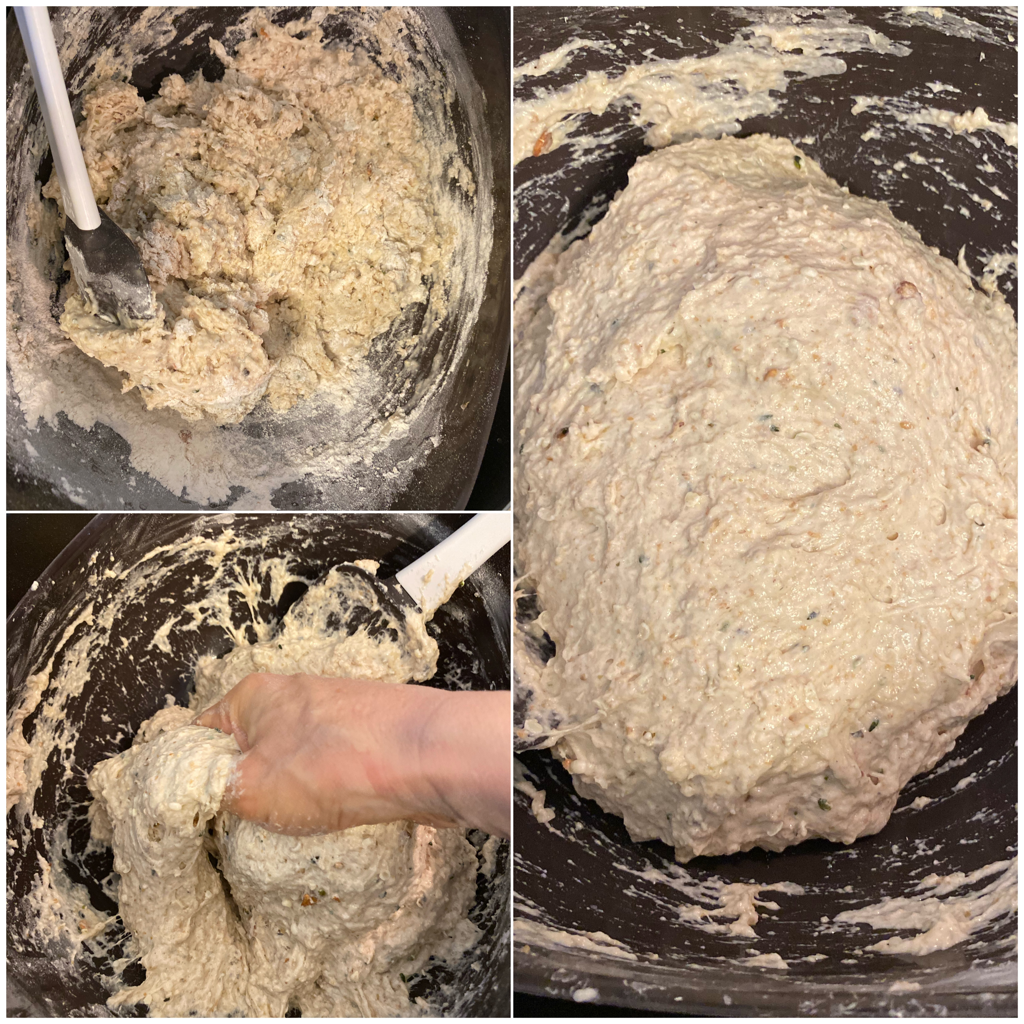
Mix until it forms a sort of ball
Then cover with a cloth and let sit for an hour.
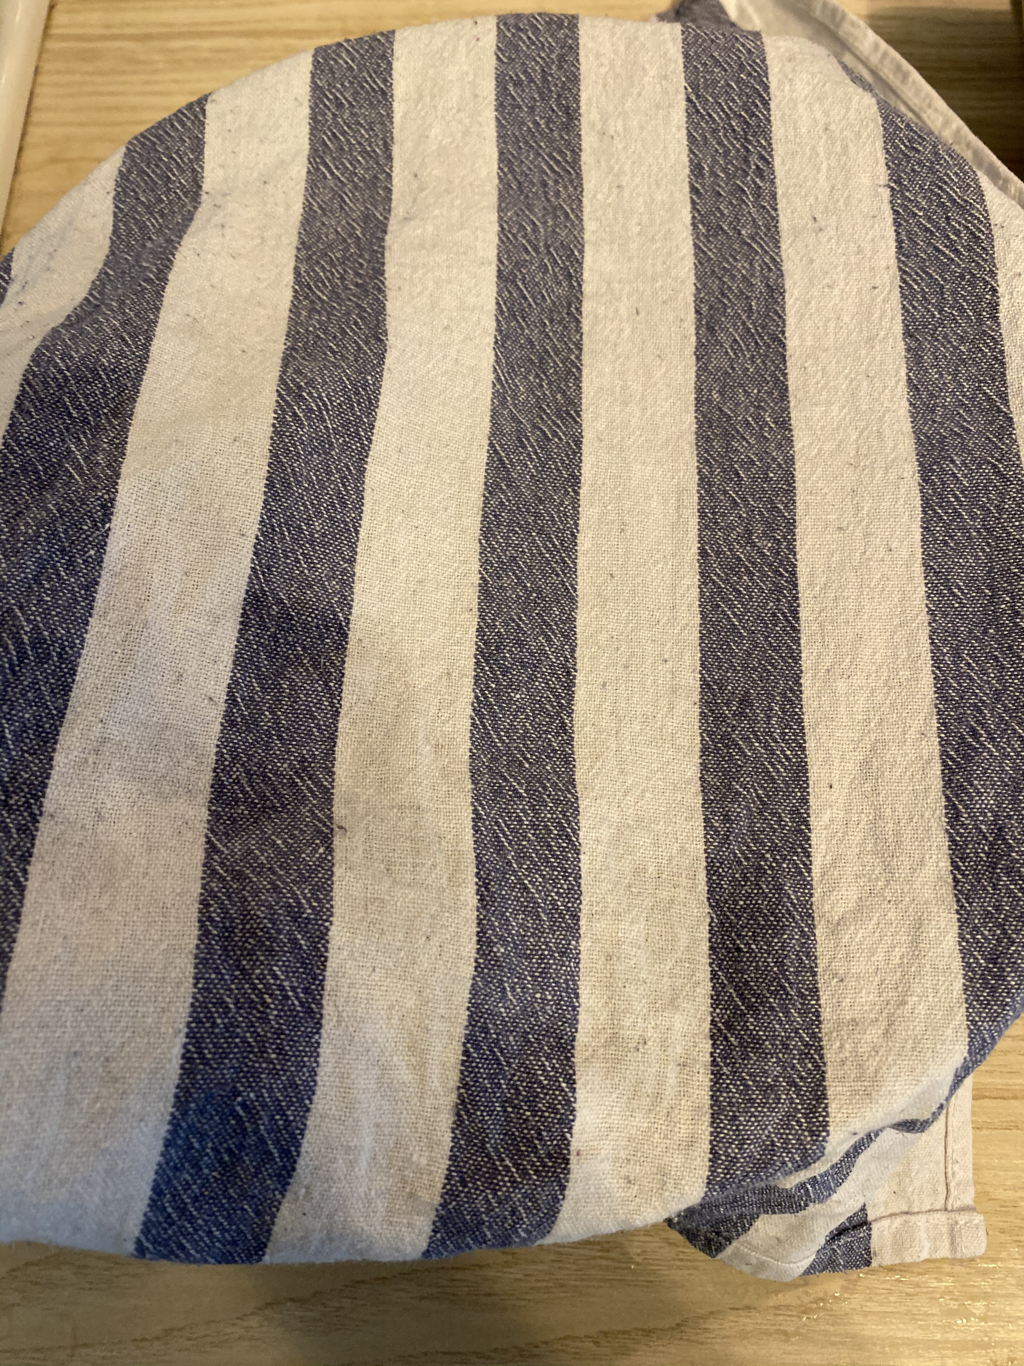
Cover with a cloth
STEP THREE - The Folds
Then the folds - follow the Breadtopia method - (https://breadtopia.com/sourdough-no-knead-bread/ see video)
Mix
20 minutes later some folds
20 minutes later some folds
20 minutes later some folds
​
STEP FOUR - Olive Oil, Cover and Ferment
​
Then coat it with some olive oil
Put in a bowl
Cover with a shower cap or plastic wrap
Let ferment on counter for around 6-10 hours and pop in fridge overnight 15-18 hours.
Overall the ferment time should be around 24 hours, with the majority of that being in the fridge.
Instagram post
STEP FIVE
Take out of fridge and coil fold into the bread pan/Dutch oven/baking vessel lined with parchment. (follow the Breadtopia method - (https://breadtopia.com/sourdough-no-knead-bread/ see video)
Preheat oven to 250 Celsius
(If there is no way to cover the bread pan, consider putting a tray of water in the bottom of the oven to help generate steam.)
While oven heating, proof the dough (let it sit on counter and it will rise a bit) around 60 minutes, more or less is fine.
Score the dough - basically cut a line into it.
Cover the bread pan to keep moisture in, and put in the oven.
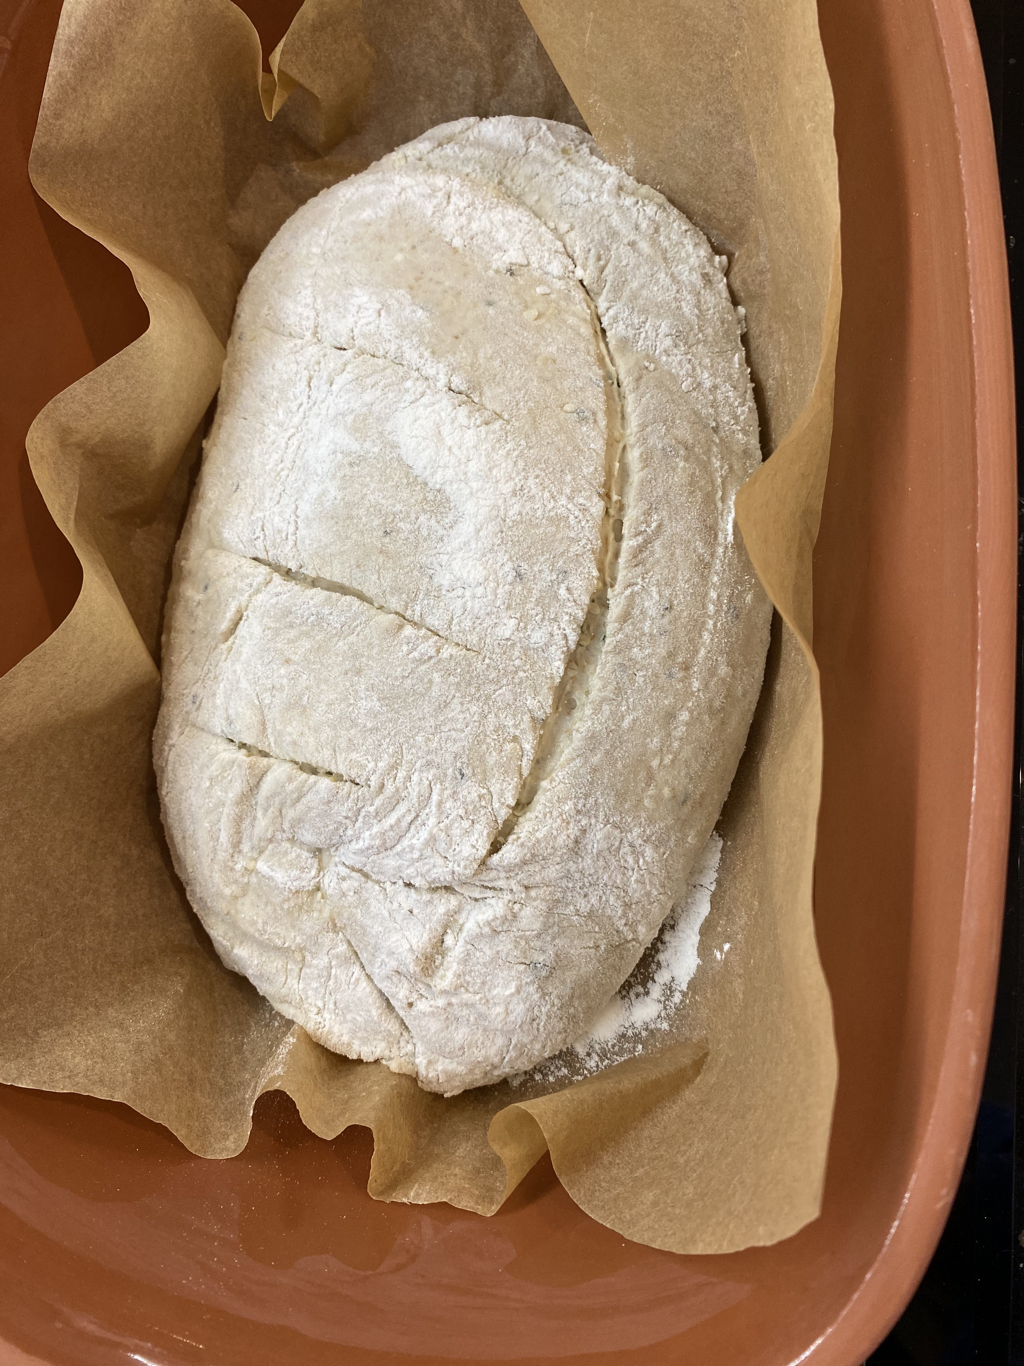
Score the dough
STEP SIX - Bake
Bake for 40- 60 minutes - my oven is very very slow. Adjust time for your oven!
For a bit more of a crispy crust, try an additional 5 minutes with the lid off.
If the bottom is soft, just pop it back in the oven upside down for a few more minutes.
Bake for 40- 60 minutes - my oven is very very slow. Adjust time for your oven!
For a bit more of a crispy crust, try an additional 5 minutes with the lid off.
If the bottom is soft, just pop it back in the oven upside down for a few more minutes.

Upside down to crisp the bottom
STEP SEVEN - Wait
​
Wait until it cools before slicing.
Enjoy!
​
Wait until it cools before slicing.
Enjoy!
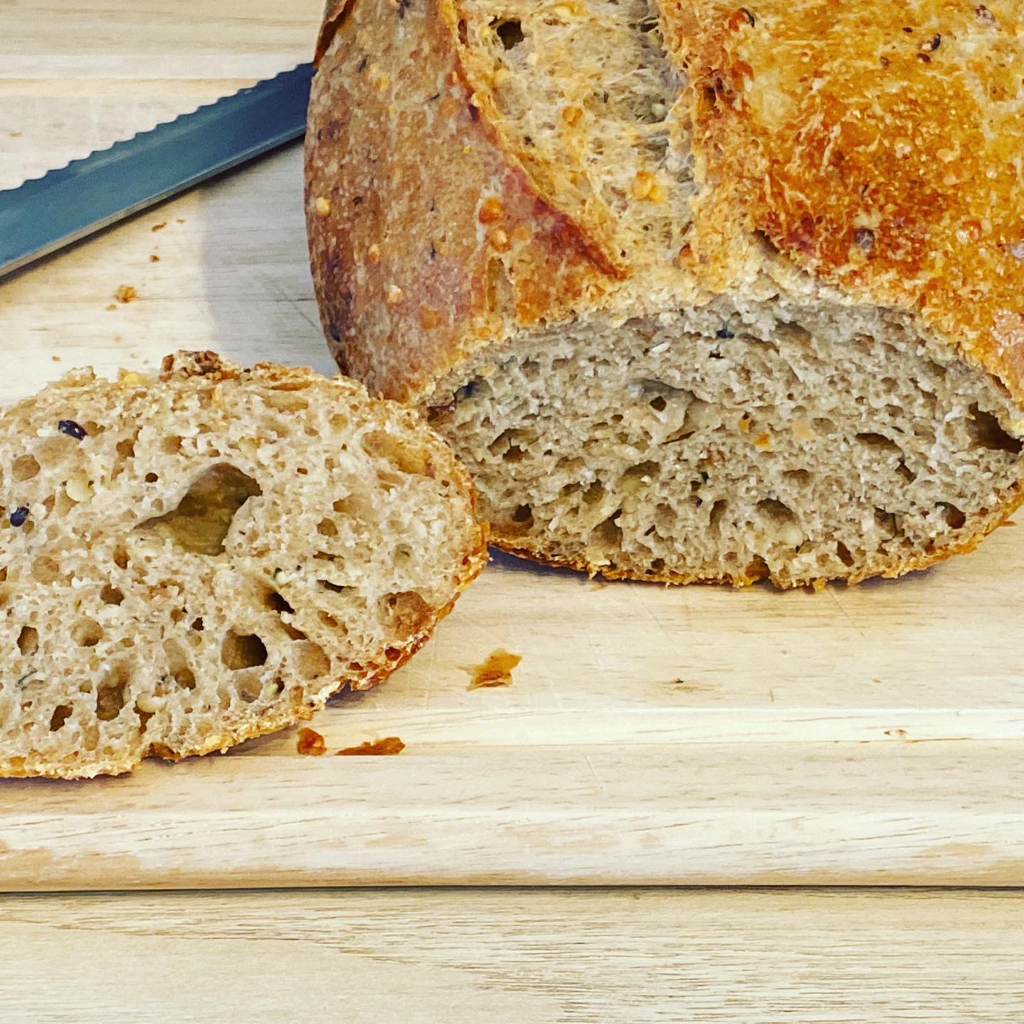
Let cool before slicing


 RSS Feed