

(Raw, Gluten Free, Sugar Free, Vegan Option)
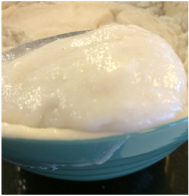
Coconut yogurt is a healthy snack, with good fats and probiotics. Add chia seeds and you get the added boost of fibre and omega-3!
This is one of my all time favorite breakfasts or snacks.
Ingredients
Directions
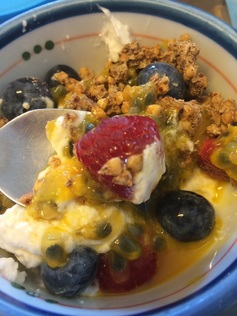
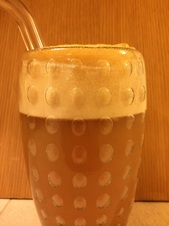
You can either mix this up for a casual bowl, or layer it beautifully in champagne glasses for a lovely parfait. It makes a perfect breakfast or morning snack at your desk. It is easy to make up the night before and store in the fridge too!
** Note - Coconut yogurt is very filling, I often find just a 1/4 cup is enough for one sitting, so start small as you can always add more.
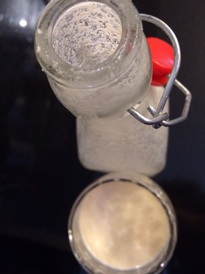
*** Substitutions – instead of coconut yogurt kefir, you could use milk kefir, whole fat plain greek yogurt or whole fat plain yogurt. Do be sure to choose a yogurt with no added sugar.
Coconut yogurt is a healthy snack, with good fats and probiotics. Add chia seeds and you get the added boost of fibre and omega-3!
This is one of my all time favorite breakfasts or snacks.
Ingredients
- Coconut Yogurt Kefir ** (see substitutions below***)
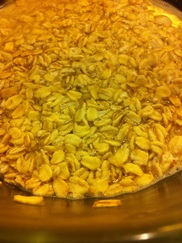
- 1-2 Tablespoons of chia seeds
- Slice up your favorite seasonal fruit for flavor – bananas, mangoes, berries, passion fruit, pomegranate, etc…
- Add some raw nuts for crunch
- Some cacao nibs or sweetened cacao nibs for a treat
- Sprinkle with some plain oatmeal or raw buckwheat granola
Directions
- Mix the chia seeds with the yogurt and let soak at least ten minutes before eating.
- Add the rest of the ingredients, either mix or layer depending upon your preference.
You can either mix this up for a casual bowl, or layer it beautifully in champagne glasses for a lovely parfait. It makes a perfect breakfast or morning snack at your desk. It is easy to make up the night before and store in the fridge too!
** Note - Coconut yogurt is very filling, I often find just a 1/4 cup is enough for one sitting, so start small as you can always add more.
*** Substitutions – instead of coconut yogurt kefir, you could use milk kefir, whole fat plain greek yogurt or whole fat plain yogurt. Do be sure to choose a yogurt with no added sugar.


 RSS Feed