

|
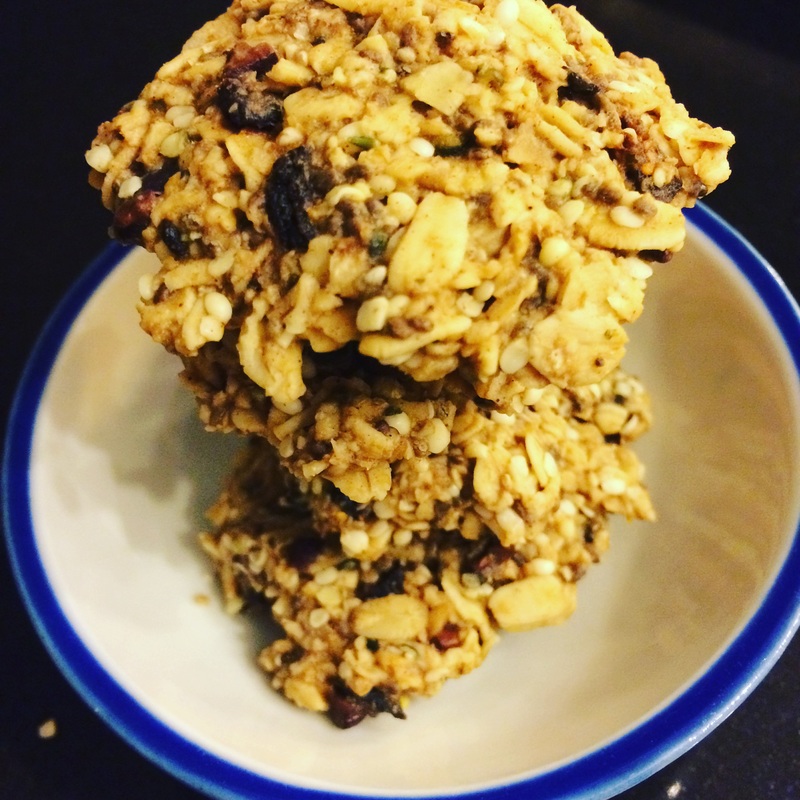
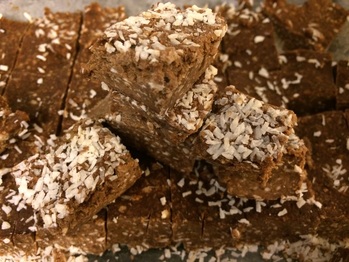
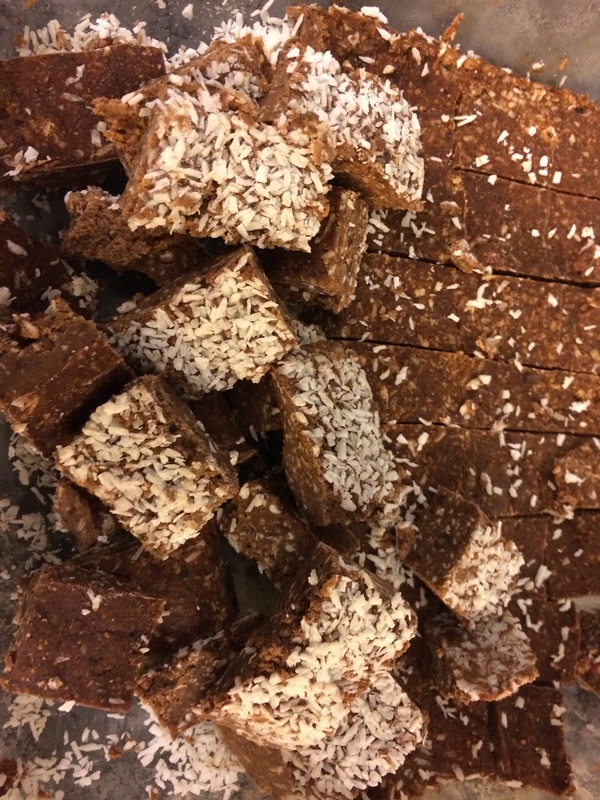
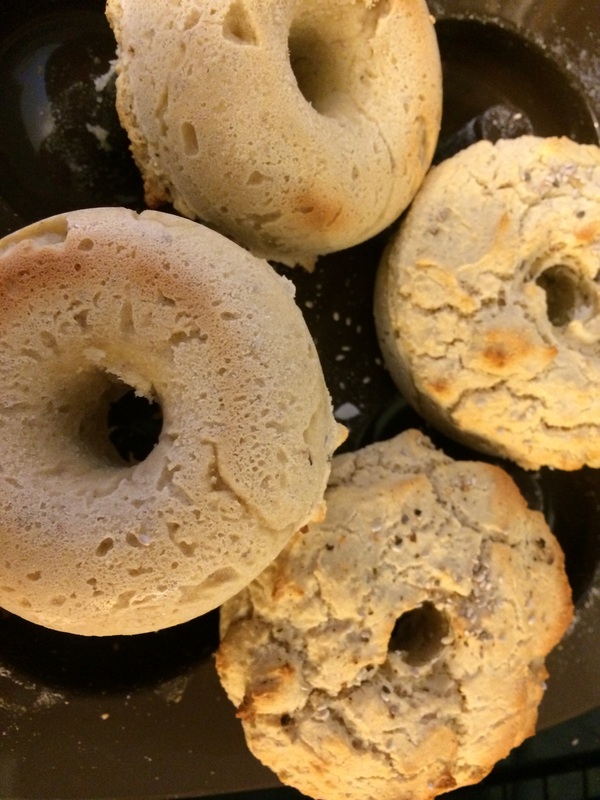
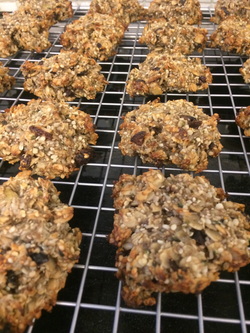 Baked and ready to eat Baked and ready to eat
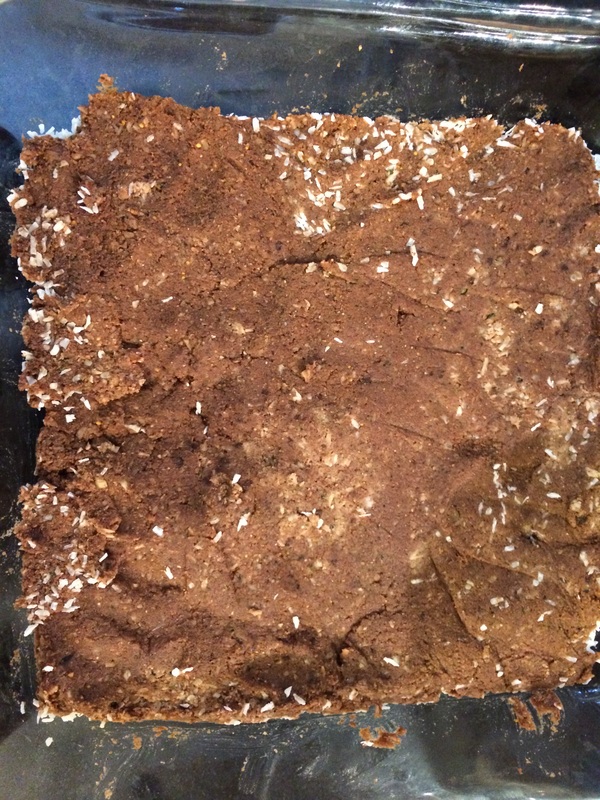
(Vegan, Gluten Free, Refined Sugar Free, Baked or Raw)
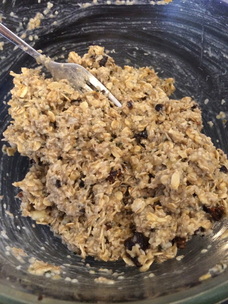
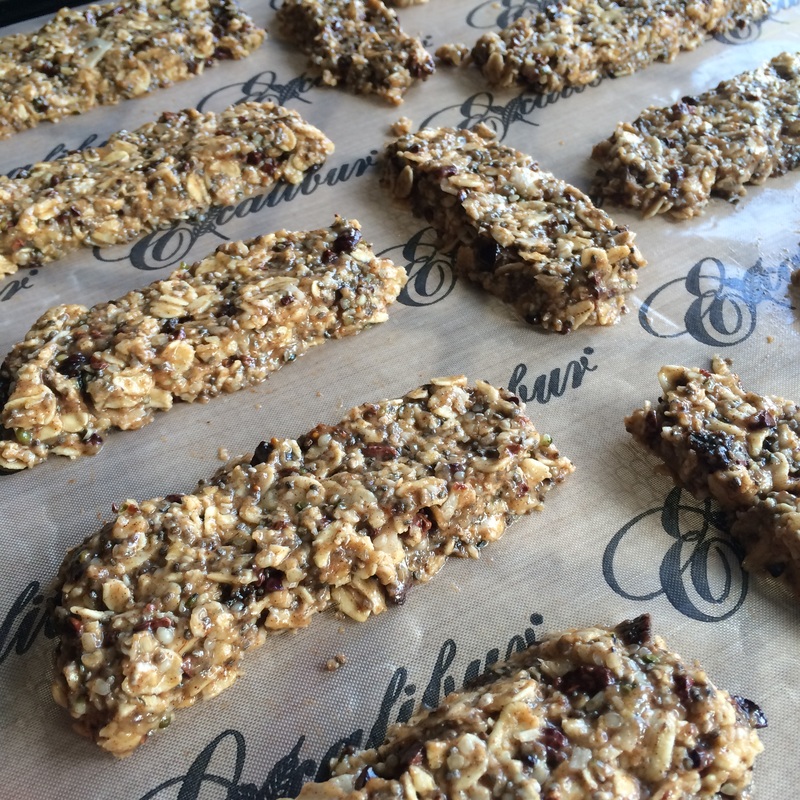
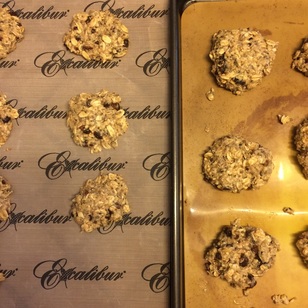
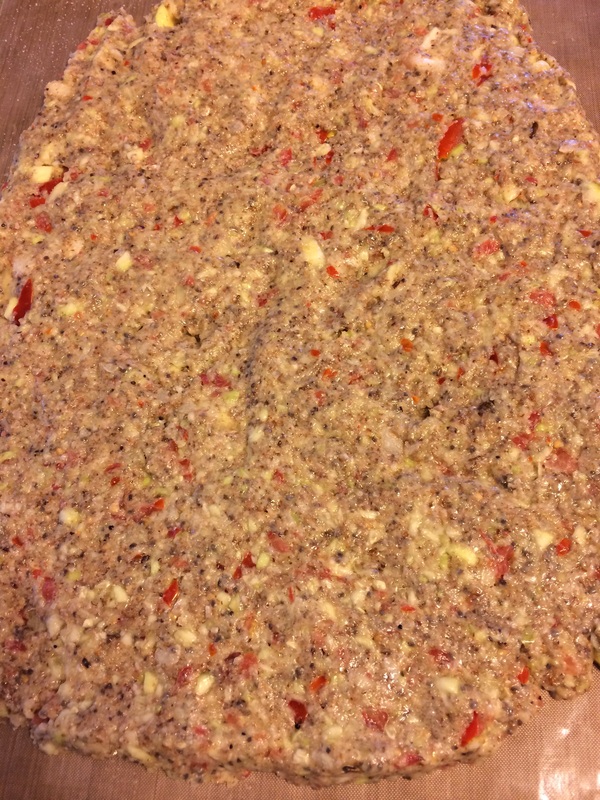
Cookies or Granola Bars! Baked or Raw! The choice is yours! These are so easy to make, and they work fabulously as raw bars that last forever in the fridge, or fresh cookies to be eaten within 2-3 days. Ingredients
Directions
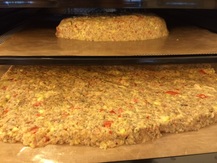
Baked Option
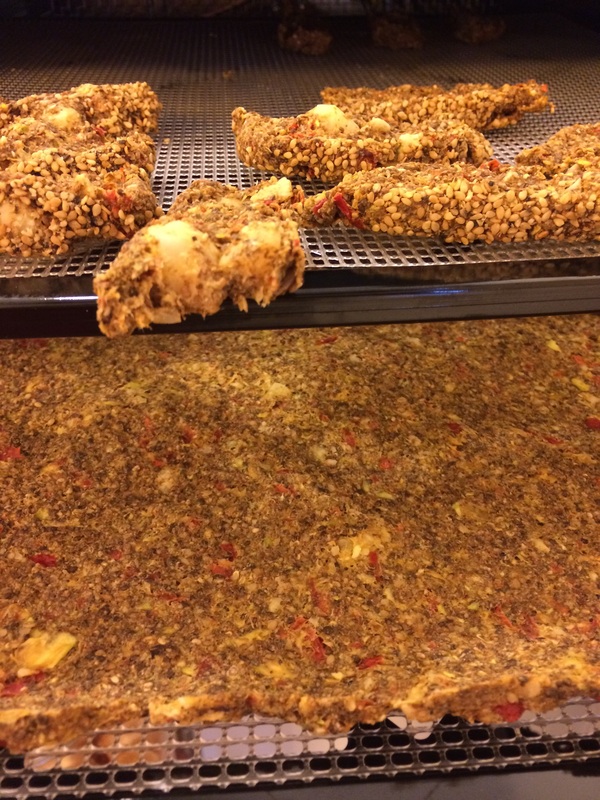
Raw Option
|


 RSS Feed